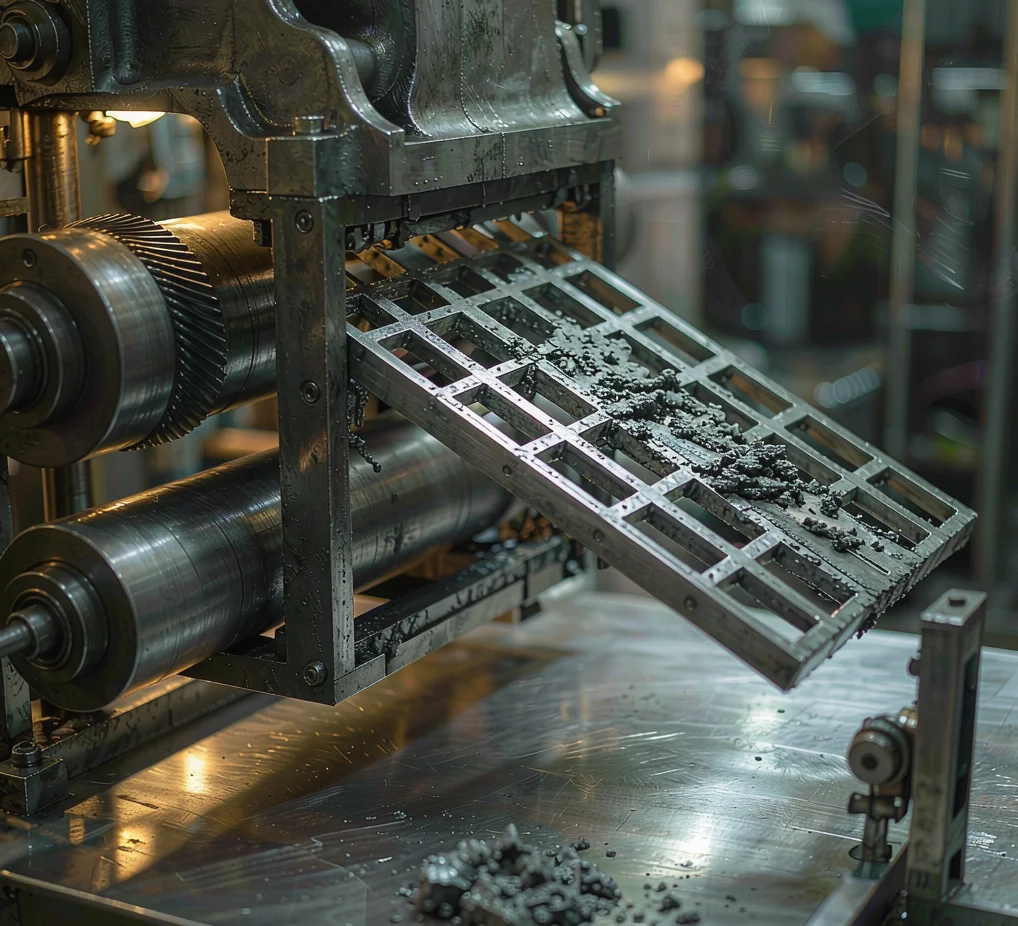
Most pasting problems are not pasting problems. They are cured-in decisions made in the first two days of commissioning, when the machine is run at whatever settings let it produce a plate that looks acceptable. Six weeks later those settings are baked into the shift routine, and the scrap rate is what it is.
Five parameters account for the bulk of it. They interact, so changing one at a time and waiting a week does not work — but they can be established properly in a single structured session.
1. Paste density and its measurement
Paste density sets how much active material lands per unit area, and therefore the capacity of the finished plate. Measure it at the mixer, not at the machine. A density read at the hopper has already lost water to evaporation and to the return paste, and will drift through the shift.
The practical rule: sample at fixed intervals, record the value against the batch, and adjust water at the mixer rather than in the hopper. Hopper adjustment chases the symptom and destabilises the paste.
2. Feed pressure
Feed pressure determines how hard the paste is pushed through the shoe onto the grid. Too low and you get voids and bare wire; too high and the grid stretches, which shows up later as a thickness variation that only becomes visible after curing.
Set it against a measured grid thickness, not against a pressure number from the drawing. Grid thickness varies between suppliers and between casting runs, and a pressure that was correct for one lot will over-compress the next.
3. Belt speed
Belt speed is a throughput decision that quietly becomes a quality decision. Run the belt faster than the paste can fill and you get a plate that passes a visual check and fails a weight check. Weight is the honest measurement; visual inspection at speed is not.
If you want more output, the answer is almost never a faster belt. It is a second belt, or a shorter changeover, or a better cure.
4. Grid support and alignment
The grid has to enter the pasting shoe flat and centred. A millimetre of lateral drift does not look like much at the infeed, but it produces an edge that is thin on one side and heavy on the other. That plate will pass pasting and fail pick-up.
Check the support rollers for wear at every changeover. They are cheap and they are the most common cause of a scrap wave that nobody can explain.
5. Shoe clearance
Shoe clearance controls plate thickness and, indirectly, how much paste is dragged back onto the belt. It should be set with a feeler gauge and re-checked after the machine reaches operating temperature — thermal growth on a long shoe is real, and a clearance that is correct cold can close up over the first hour.
What to record
| Parameter | Measured where | How often |
|---|---|---|
| Paste density | Mixer discharge | Per batch |
| Plate weight | Off the belt, before curing | Every 30 min |
| Plate thickness | Fixed sample points, not the edge | Every 30 min |
| Grid thickness | Incoming lot | Per lot |
| Shoe clearance | Feeler gauge, hot | Start of shift |
None of this is sophisticated. It is the difference between a machine that is commissioned and a machine that is merely installed.